Adding R and Python superpowers to your data science toolbox involves installing a handful of applications in your machine. This model applies to Windows, Linux and Unix Mac. I have tested RPyStats in all these operating systems and it runs great.
The applications to install are:
- R 3.6+
- Rtools 3.5+
- RStudio 1.2+
- Anaconda 3 Python 3.6+
- Git for Windows (which also provide a Unix terminal Git Bash)
- Completely optional is installing a Git client such a GitKraken. I have been using it for 2+ years. You may not find something so intuititive in the Git world.
I will not describe in detail the installation of these applications here because you will be able to find great tutorials in the web. Nevertheless, I will show ways to test if the software was properly installed, and provide some tips on the way.
Installing R
Choose any version of R 3.6+. Download it and install it. Try to install only the 64-bit or 32-bit version of it, not both. I have found that that makes easier later for R to find the proper Java libraries such RJava, or h2o, or Weka. The installation file I downloaded was R-3.6.0-win.exe.
Test. After the installation, verify that you have the R path properly set. Example:

Installing Rtools
Rtools provides a bunch of tools, utilities and compilers to build packages from source in Windows. Remember to check the box that says “add Rtools to system path”. It will help you when you are running R from the CMD console or Bash terminal. The installation file was Rtools35.exe.
Test. Verify after the installation that the Rtools path has been set in the System path. Example: take a look at C:\Rtools\bin in the screenshot below.

Installing RStudio
This is pretty straight forward. Installing RStudio is pretty easy. After the installation, we will also perform a test to ensure that Rtools was installed. This is the installation file I got: RStudio-1.2.1335.exe
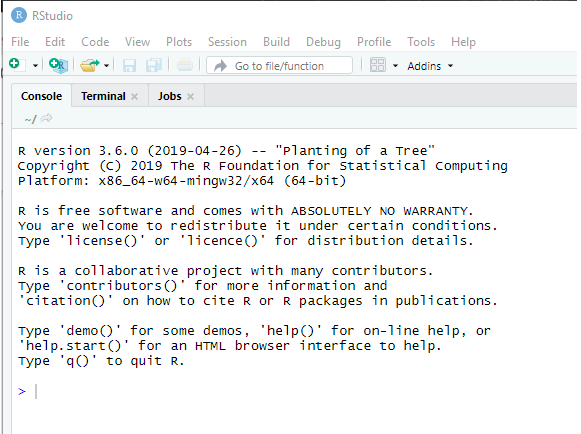
Test 1. If R and RStudio installed successfully, when you open RStudio you should see the following screen:
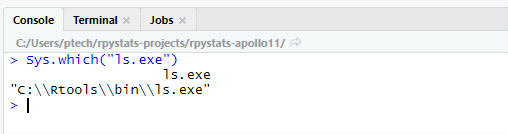
Test 2. If Rtools was properly installed you should see this output in the R console of RStudio after you type:
Sys.which("ls.exe")
in the R console. Like this:
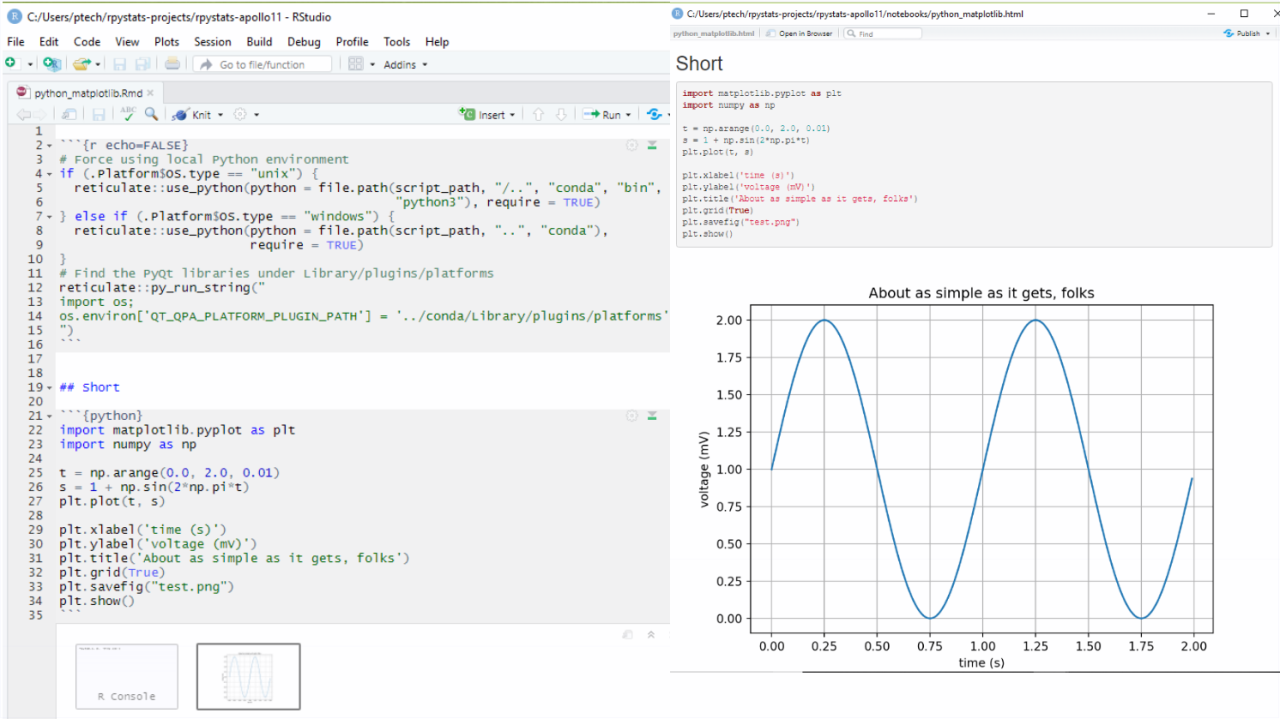
Installing Python Anaconda3
Installing Anaconda is also super-easy. Just take care of downloading the latest version available with Python above 3.6. Before installing the new Anaconda, remove or uninstall any old Python installation from your computer first, including paths in the environment. In my case, I got this installation file Anaconda3-2019.03-Windows-x86_64.exe.
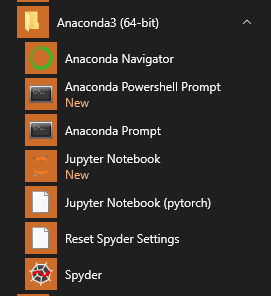
If the installation went well, you will get a new menu item in the Windows Start menu:
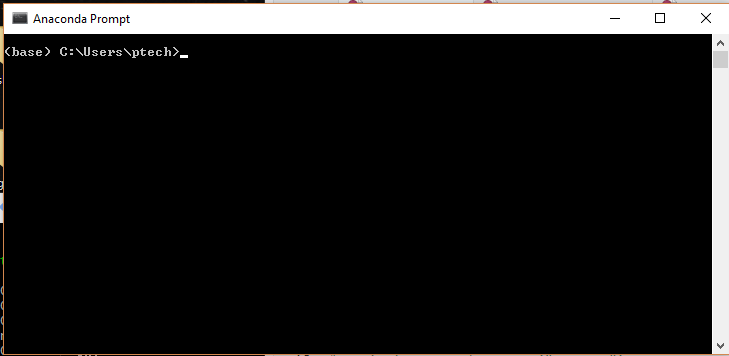
Test 1. Click on the item Anaconda Prompt. You should get a CMD console with (base) as the indicator of the current Python environment.
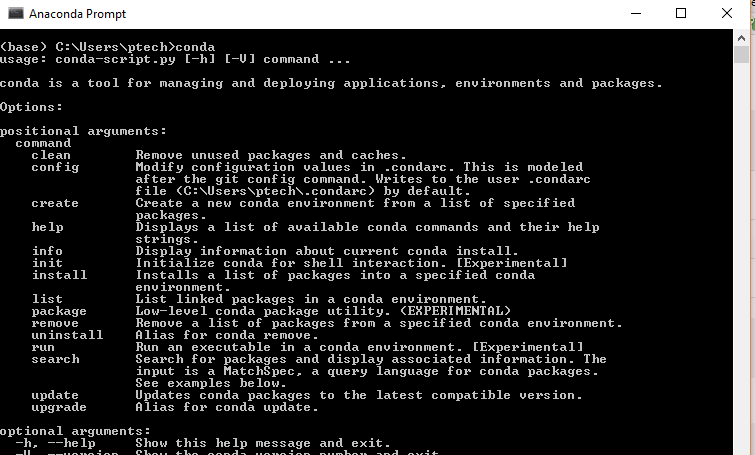
Test 2. Run the command conda in the CMD console. You should see the following output indicating that conda is present. Close this Anaconda console afterwards.
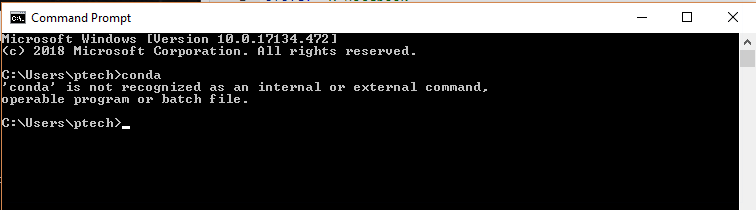
Test 3. Open a new CMD console from the Windows menu, not the Anaconda prompt, but a standard CMD console. Run the command conda. It’s very likely you will get an error that “conda is not recognized”. That is fine. We will fix that.
Fix - conda path: Fixing this problem is very easy. You just have to declare the path to conda; not to the Python binaries but the utility scripts folder. Open the environment dialog in Windows and add this folder C:\Users\user_name\Anaconda3\Scripts to the user PATH. Something like this:

If you installed Anaconda somewhere else, change accordingly but always pointing to the *Scripts* folder.
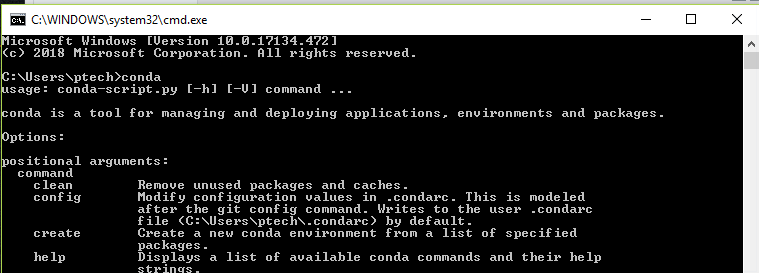
Test 4: Open a new CMD console and run conda. Now it should work.
Note. This step is important because we want to provide to the orchestrator, rsuite, a viable path to the conda installer to download and install the Python executables and libraries.
Up to this point we have R, Rtools, RStudio and Python Anaconda3 all working.
Installing the RSuite client
This part is also very straight forward. Just download the RSuite client for your operating system, and install it. In my case I got this file for Windows 64-bit: RSuiteCLI_v0.37.253_x64.msi.
Test: Open a CMD console and run:
rsuite version
You should get this output.

While you are at the CMD terminal, finish with the installation of the R package rsuite with
rsuite install
You will see that a bunch of R packages start being installed.
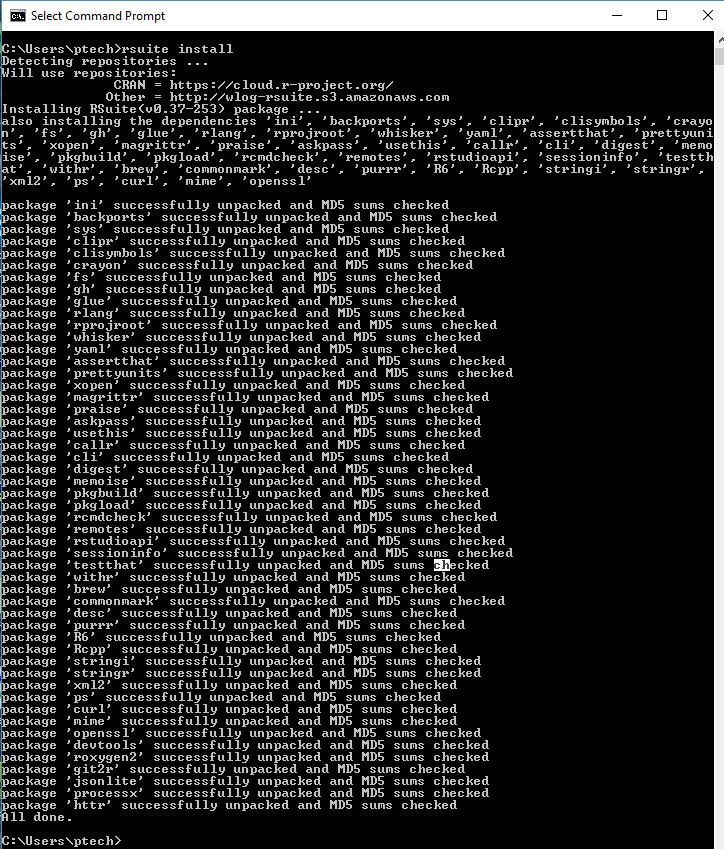
At this point, rsuite is ready to start creating master projects.
Installing Git for Windows
This step is important because: (1) provides a Git version control client; (2) provides of a Unix-like terminal called Git Bash.
After you complete this installation you should have a new item in the Windows Start menu. In my case, I downloaded this installation file Git-2.22.0-64-bit.exe.
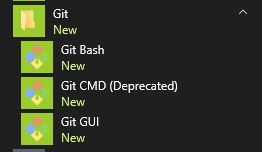
Click on Git Bash menu item to open the Unix terminal.
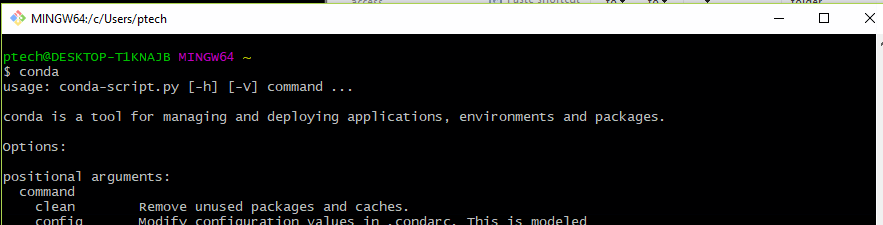
Test 1 - run conda: Verify if we can access conda from the Git-Bash terminal.
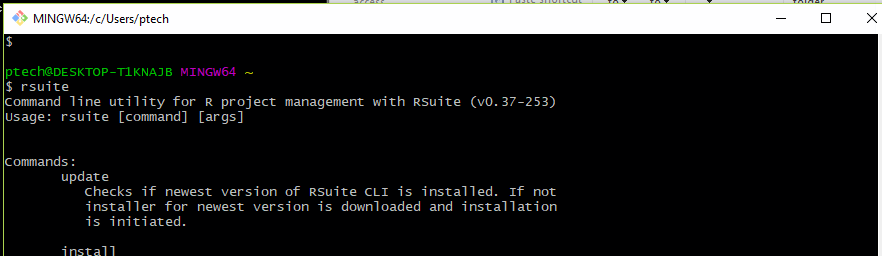
Test 2 - run rsuite: Verify we have access to rsuite from the Git-Bash terminal.
You are done!
Now you have a RPyStats data science toolbox with deployment and production-class powers.
Example repository
[https://github.com/f0nzie/rpystats-apollo11](http://Example repository https://github.com/f0nzie/rpystats-apollo11)
Download links
- R 3.6.0: https://cran.r-project.org/bin/windows/base/old/3.6.0/
- RSuite client: https://rsuite.io/RSuite_Download.php
- RStudio: https://www.rstudio.com/
- Anaconda Python: https://www.anaconda.com/distribution/#download-section
- Git for Windows: https://git-scm.com/download/win